Blog
News

How Shopify Experts Can Help Fulfill Your E-commerce Goal?
In contrast to physical retailers, online sellers encounter the distinct challenge of building the customer experience from the ground up.
Shopify online stores act as the digital storefront of you...
24 Apr, 2024

Tips To Boost Sales with Shopify: A Guide for Entrepreneurs
When you take a look at Shopify stores, you'll see:
Certain Shopify shops are thriving with activity and sales,
While others are finding it difficult to take off
Have you wondered why? Typically...
22 Apr, 2024
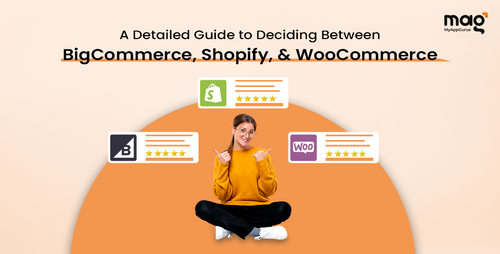
A Detailed Guide to Deciding Between BigCommerce, Shopify, and WooCommerce
The pandemic has completely reshaped how people shop. Online stores gained huge popularity during the Covid outbreak. And the online shopping streak has continued ever since.
So, if you've decide ...
11 Apr, 2024
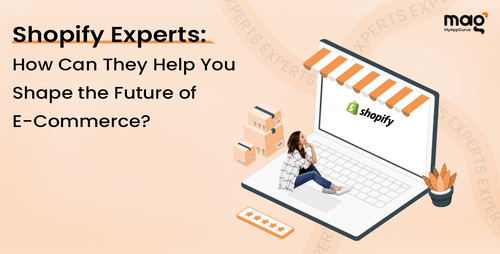
Shopify Experts: How can they help you shape the future of e-commerce?
The e-commerce domain is a dynamic beast. In recent years, things have evolved. New technologies emerge, customer expectations shift, and competition intensifies.
And businesses need to adjust to ...
08 Apr, 2024
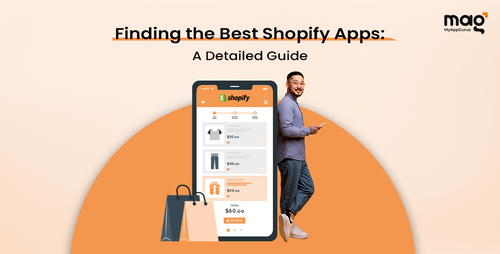
Finding The Best Shopify Apps: A Detailed Guide
Shopify is a popular e-commerce platform. It caters to both online retail stores and point-of-sale systems.
It currently accommodates more than a million active businesses. And almost 200,000 new...
03 Apr, 2024
Shopify Platform: What New Features Can You Expect?
Shopify is a Canadian e-commerce company. Shopify was established in 2004 by Tobias Lütke, Daniel Weinand, and Scott Lake following an attempt to launch Snowdevil, an e-commerce store for snowboard...
02 Apr, 2024
How to Find the Best Shopify Apps For Your Business?
If you are starting on Shopify or have a business already and want to increase sales, then you have already explored the apps available in the Shopify Store.
The Shopify App Store offers over 6,00...
31 Mar, 2024
What Is Shopify 2.0 And Why Should You Consider Upgrading?
Shopify 2.0 has changed the perception of Shopify within the E-commerce industry. Shopify's theme engine is the latest in e-commerce technology.
It includes enhancements meant to enhance all busi...
30 Mar, 2024
Planning To Start a Shopify Store? Here's a Breakdown of the Costs
Want to launch your online store on Shopify? But you’re not sure about the costs? You've just landed at the right place.
Shopify has become a go-to platform for both aspiring e-commerce entrepren...
29 Mar, 2024
Unleash Your E-commerce Potential: Top 10 Features of Shopify Plus
Planning to expand your store? Shopify Plus might be a great option. But what is it?
Shopify Plus is the enterprise-level solution from Shopify. It is designed to cater to the requirements of high...
28 Mar, 2024
Shopify Vs. Magento: Which One Should You Choose?
The e-commerce domain is growing with leaps and bounds. And therefore, if you’re a brick-and-mortar store owner looking to expand online, selecting the right platform is crucial.
In the competiti...
20 Mar, 2024
4 Ways You Can Scale Your Shopify Business Proficiently
When you are running a Shopify business, your time approach for growth and expansion is to acquire consistent sales. But there’s a lot to plan and implement for you to achieve the same. Scaling you...
28 Feb, 2024